Around the House
How Do I Clean with an Eraser Sponge?
What if there was a way to clean some of the messiest surfaces in your home without using harsh chemicals? Would you be interested? Don’t answer yet! (I know this sounds like an infomercial - but it isn’t. Stay with me).
What if you could clean the messiest surfaces in your home with zero chemicals?
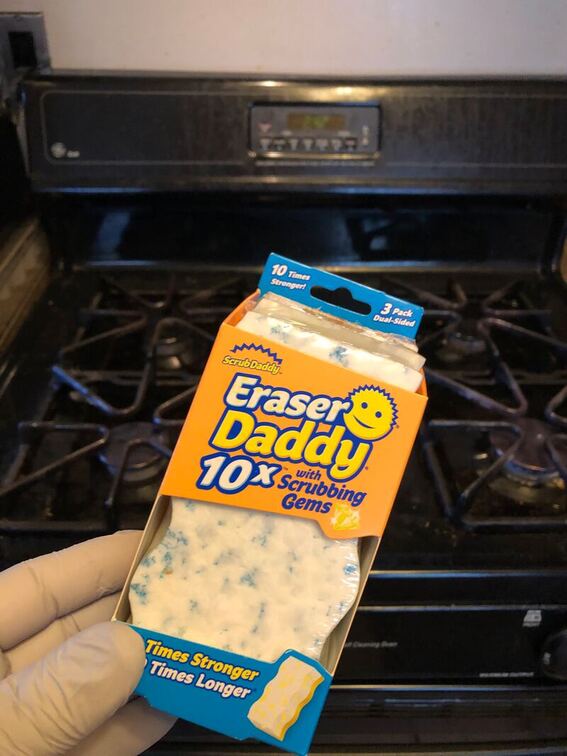
That is what eraser sponges promise. Whether it is a Mr. Clean Magic Eraser, a Scrub Daddy brand Eraser Daddy or even a store brand, such as Home Depot’s HDX Easy Eraser, you can unleash serious cleaning power by adding water and elbow grease.
Here is how you can erase dirty messes in your house using an eraser sponge.
The Solution in 5 Easy Steps:
Step 1: Wet the sponge with clear water.
A quick pass under the faucet is usually enough. If you are tackling a large job, like the interior of a refrigerator, then you may want to use a bucket with a half gallon of water. That way, you can rinse as you work.
Step 2: Test a small, inconspicuous area before proceeding.
No matter what cleaning product you are using, always take a moment to test it on the surface you want to clean.
While the Eraser Daddy sponges work well on hard surfaces, including floors, walls and countertops, as well as on items made of materials such as plastic, glass, ceramic and porcelain, it is best to test for any unexpected results. For instance, while eraser products work well on most painted surfaces, aggressive scrubbing may remove paint from some surfaces.
Step 3: Wipe the affected area clean in with a circular motion.
Mr. Miaggi knew what he was talking about when he had the Karate Kid apply wax in a circular motion. Circles allow for natural overlapping, while promoting agitation in 360 degrees (far better than a simple back-and-forth motion).
Depending on the specific item you are cleaning, a circular motion may not be possible. Feel free to improvise with whatever method works for you (zig-zag; up-and-down; to-and-fro).
Step 4: Dry with a clean towel.
Wiping an area dry with a clean towel is an often overlooked step. By buffing and area clean, you avoid streak marks, as well as the look of an uneven clean.
Step 5: Repeat as necessary.
If only cleaning was a once and done process. After that final buff, look the area over to make sure you the area is as clean as you hoped it would be. If not, wring out the sponge to clean the area one more time. Don’t forget to buff it dry!
Pro Tips:
What if you could clean the messiest surfaces in your home with zero chemicals?
That is what eraser sponges promise. Whether it is a Mr. Clean Magic Eraser, a Scrub Daddy brand Eraser Daddy or even a store brand, such as Home Depot’s HDX Easy Eraser, you can unleash serious cleaning power by adding water and elbow grease.
Here is how you can erase dirty messes in your house using an eraser sponge.
The Solution in 5 Easy Steps:
Step 1: Wet the sponge with clear water.
A quick pass under the faucet is usually enough. If you are tackling a large job, like the interior of a refrigerator, then you may want to use a bucket with a half gallon of water. That way, you can rinse as you work.
Step 2: Test a small, inconspicuous area before proceeding.
No matter what cleaning product you are using, always take a moment to test it on the surface you want to clean.
While the Eraser Daddy sponges work well on hard surfaces, including floors, walls and countertops, as well as on items made of materials such as plastic, glass, ceramic and porcelain, it is best to test for any unexpected results. For instance, while eraser products work well on most painted surfaces, aggressive scrubbing may remove paint from some surfaces.
Step 3: Wipe the affected area clean in with a circular motion.
Mr. Miaggi knew what he was talking about when he had the Karate Kid apply wax in a circular motion. Circles allow for natural overlapping, while promoting agitation in 360 degrees (far better than a simple back-and-forth motion).
Depending on the specific item you are cleaning, a circular motion may not be possible. Feel free to improvise with whatever method works for you (zig-zag; up-and-down; to-and-fro).
Step 4: Dry with a clean towel.
Wiping an area dry with a clean towel is an often overlooked step. By buffing and area clean, you avoid streak marks, as well as the look of an uneven clean.
Step 5: Repeat as necessary.
If only cleaning was a once and done process. After that final buff, look the area over to make sure you the area is as clean as you hoped it would be. If not, wring out the sponge to clean the area one more time. Don’t forget to buff it dry!
Pro Tips:
- Always test in a hidden area before you begin cleaning.
- Buffing the area dry will eliminate streaks,